Getting started with Messaging
The konso app enables the development team to communicate through messages which are sent through different mediums. This is done via different providers through various routes depending on the environment.
To start the messaging service in a new bucket, we need to add messaging to the bucket. This is done by navigating on the left side pane to Settings > Usage. The usage page will open. On the page there is a widget named Apis as shown below:
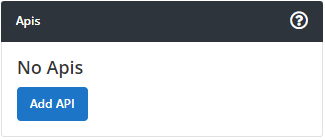
Press the blue button labeled Add Api and a pop up window will appear as below:
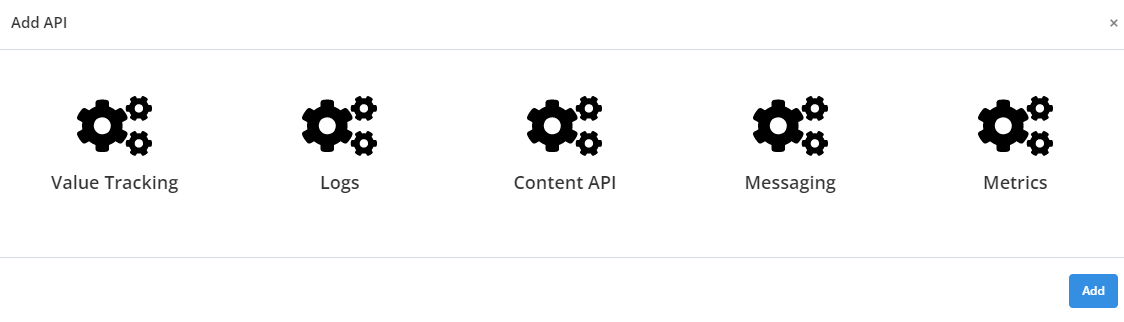
Click on the messaging icon and press the add button at the bottom right. A notification confirming a successful messaging service addition to the bucket is then displayed.
To start collecting messaging information via REST API to Konso app using api endpoints as referenced by Messaging API.
More on the API can be referenced through the Github repository link: https://github.com/konsoio.
Through the konso app dashboard, you can view information data related to a specific bucket. Messaging information on Konso app can be accessed by navigating to the left pane of the dashboard and select messaging. When you expand the messaging menu, the following items exists under messaging: Overview, Providers, Flows, History and Settings.
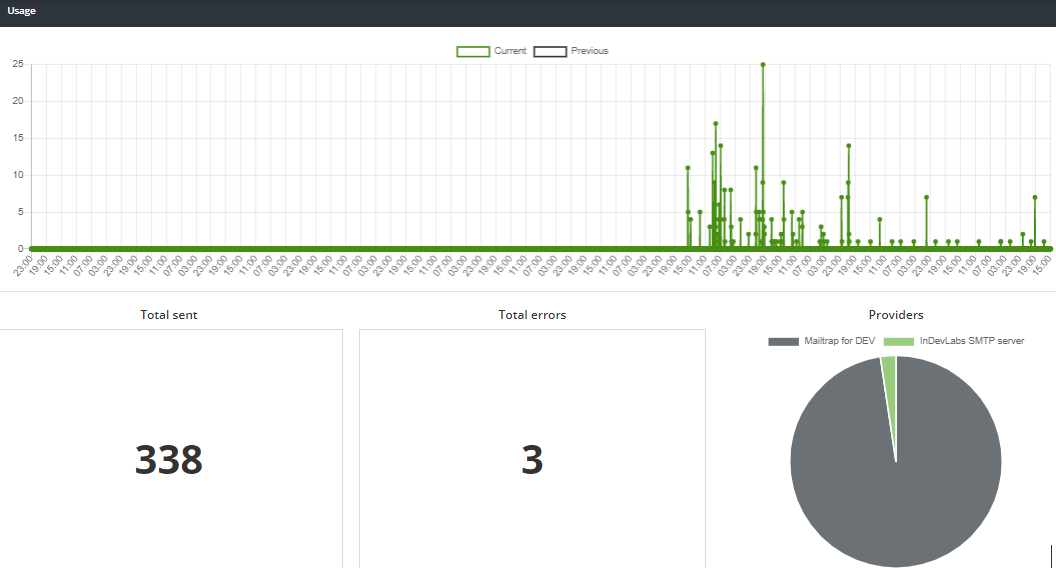
The Overview displays the summarized information on messaging usage. It compares the current messaging information against a previous time. The total number of sent messages, total errors encountered and the providers used is displayed as well. This information is the displayed on a graphical format:
The Providers option allows you to manage the providers that are designated to send communication messages by the development team. The providers information is displayed in a table which shoes the name, type, and the time a provider was added. You can edit the saved details of any provider as well as delete a provider under the action column.
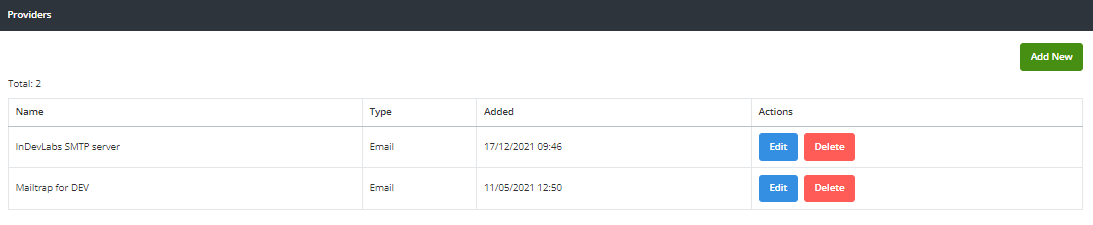
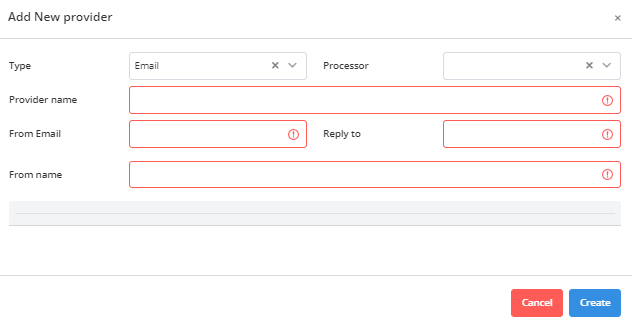
New providers can be added through the konso app dashboard. To do so, under providers, select the button labeled "Add new". A popup window appears which will require to add the provider name, type, message processor, From email, reply to, and from name. You will also have to configure the processor information based on the selected processor. Fill in the provider details and click the button labeled "create" to add a provider.
The Flows option is made of rules that are setup to govern the way messages are sent and the provider to be used. A flow list is displayed which contains rule id, name, comparison property, comparison, comparison value, save in history and the provider name. You can edit rule details or delete a rule entirely using the actions column.

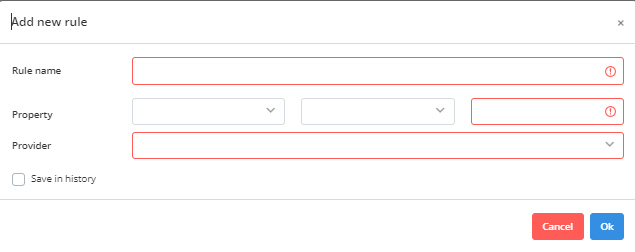
New rules can be added on the flows list by clicking the button labeled "Add New". A new popup window appears which requires you to fill the following: rule name, property, provider, and an option whether to save history.
A notification message confirming a successful addition is displayed.
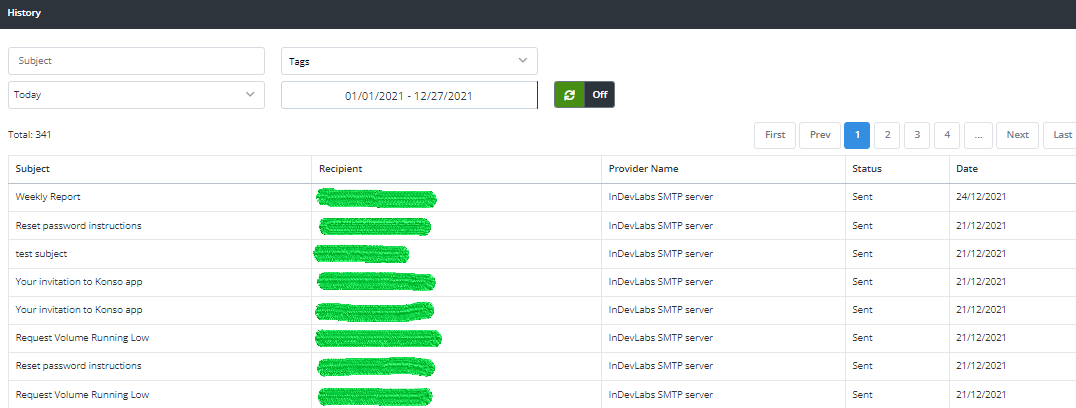
The History section provides a chronological order of messages sent over a given period of time. The history displays the details of messages which are subject, recipient, provider name, status and date. The page also allows you to specify the kind of messages to display through a search where you enter the subject, tags and the desired period when messages were sent.
The Settings feature under messaging allows you to configure messaging options in a bucket. Under settings you can configure the following:
- Retention This is the messaging data retention period for your bucket based on the subscribed plan. An upgrade to your plan increases your retention period. The upgrade plan link provides a way to upgrade your current plan.
- Danger Zone Under this section is a red button named delete which enables you to remove messaging service from your bucket.
Once you are done configuring you click the save button to confirm the changes made.
