Getting started with Value Tracking
The Konso app through value tracking enables organizations and service owners to monitor user activity from a business perspective. To start value tracking in a new bucket, we need to add value tracking to the bucket.
This is done through navigating on the left side pane to Settings > Usage. The usage page will be opened. On the page there will be a widget named Apis as shown:
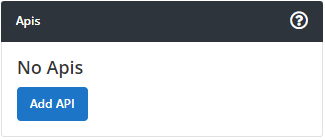
Press the blue button labeled Add Api and a popup window will appear as below:
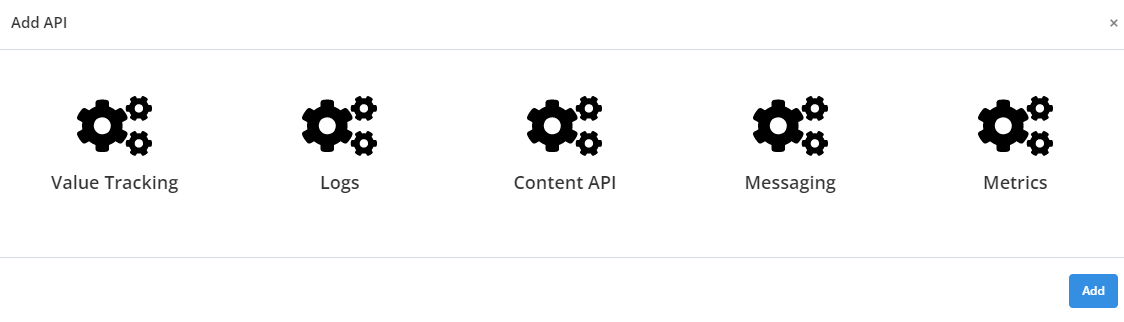
Click on the value tracking icon and press the add button at the bottom right. A notification is displayed confirming successful addition of value tracking to the bucket.
You can start collecting value tracking data via REST API to Konso using api endpoints as referenced by Value Tracking API. More on the API can be referenced through the Github repository link: https://github.com/konsoio.
Value tracking information related to a bucket can be viewed through the dashboard on Konso app. You can access the value tracking information by navigating to he left pane of the dashboard and selecting Value Tracking. When you expand the value tracking menu the following sub items are revealed: Overview, Explore, Mapping, Timeline and Settings.
The Overview displays summary information of value tracking data collected on konso app over a period of time. The information is organized as follows:
- Value Tracking Overview Here the aggregated value for the selected period is displayed.
- Usage In this section the value tracking events for the period compared with the previous is displayed.
- Events The value tracking events count are displayed on a graphical pie chart.
- Countries The value tracking countries are displayed on a graphical pie chart.
- App name where you input a name of an application linked to the bucket
- Event name where you specify a name of a known event that was captured by Konso app
- Event Id which is the unique identifier of an event
- Country associated with an event
- Tags which are used to mark related events
- Period within which events took place
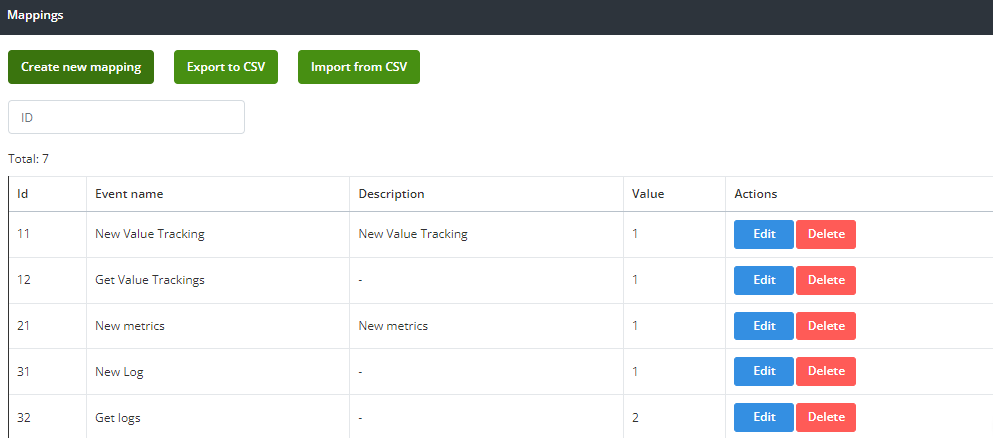
The Mapping feature allows for you to map events with related detailed attributes such as description, Id and value. Additionally, this feature allows you to create a new mapping as well importing/exporting from a CSV.
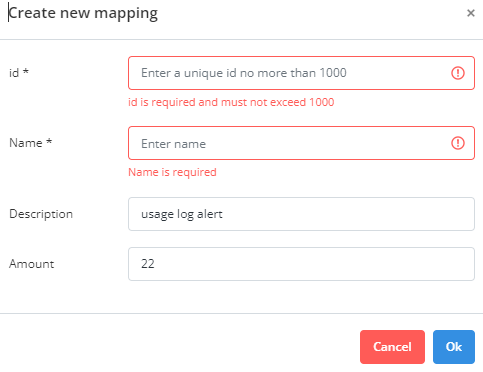
Creating a new mapping
To create a new mapping from the mapping page, click on the button labeled "create new mapping". A popup window comes up which requires you to input an Id, an event name, a description and a value. The popup appears as below:
Export to CSV
Using the Export to CSV button on the mapping page, you are able to download the mapped events as CSV file. To export to CSV press the "Export to CSV" button and a CSV file will automatically be downloaded through the web browser.
Import to CSV
Using the Import to CSV button on the mapping page, you are able to import an already populated CSV file to populate the mapping information in the system. To import CSV press the button and select the CSV file from its file location.
The mapping page displays the mapped events in a table format. For each event in the table a user is able to delete or edit the components of the table using the action column.
 .
.The Timeline feature is an option that allows you to see business events in a chronological perspective grouped by collection Id. tracing option. The business events are displayed in a table which shows the collection Id, time created and the duration. Under the timeline option, you can select the period for which to view thw business events. Timeline information is displayed in a table:
The Settings feature under value tracking allows you to configure value tracking options in a bucket. Under settings you can configure the following:
- Anonymize user's data This is a radio button feature which allows the Konso app to anonymize collected user's data if selected.
- Mask user's IP This is a radio button feature which allows the Konso app to mask collected user's IP data if selected.
- Currency Here you choose the preferred default currency to be captured during mapping.
- Retention This is the value tracking data retention period for your bucket based on the subscribed plan. An upgrade to your plan increases your retention period. The upgrade plan link provides a way to upgrade your current plan.
- Danger Zone Under this section is a red button named delete which enables you to remove value tracking service from your bucket.
Once you are done configuring you click the save button to confirm the changes made.